Step 1. Install Bitrock InstallBuilder (from here)
Step 2. Acquire license file, see below for details.
| License | Contact ITSM |
| Reference | ITSM-3514 |
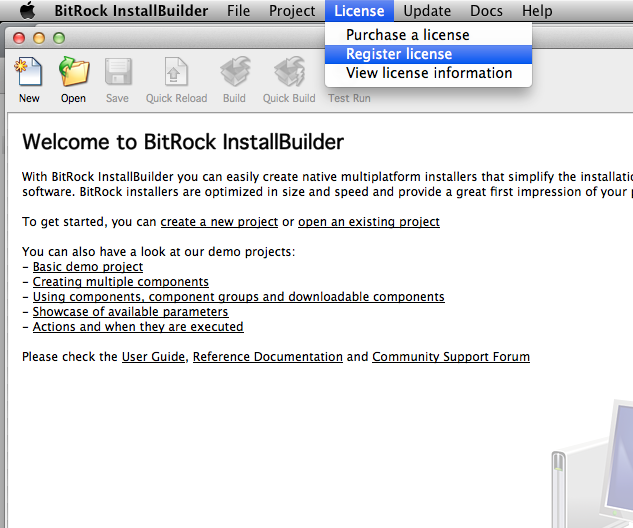
Step 3. Authorize the InstallBuilder with the license file.
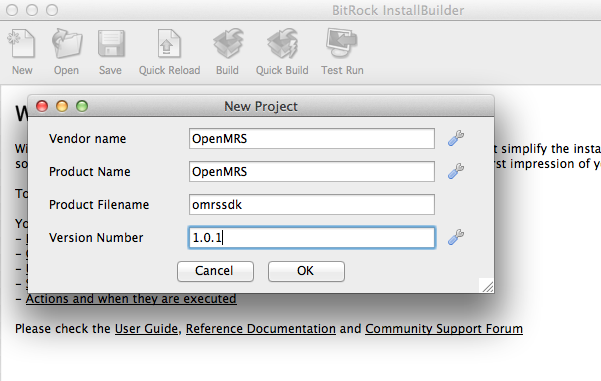
Step 4. Create a new Project, by clicking New.
Step 5. Fill out the prompt like displayed below.
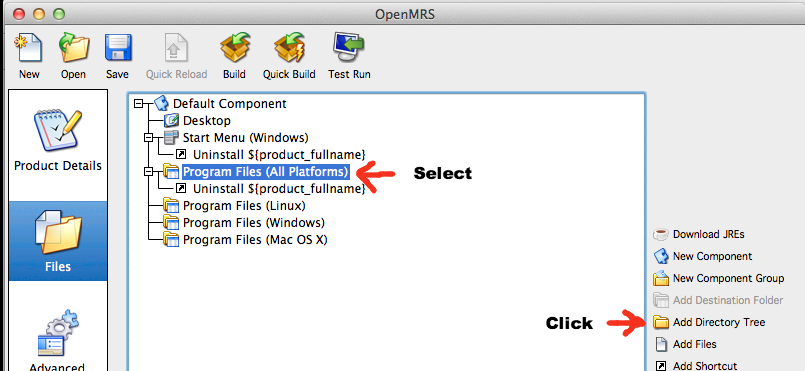
Step 6. Add the appropriate directory containing the SDK files.
Step 7. Add sdk bin directory to system path using Postinstall Actions.
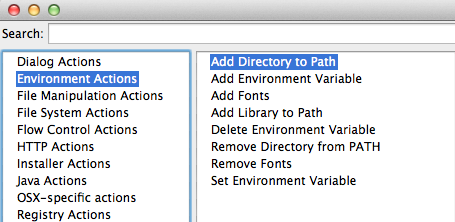
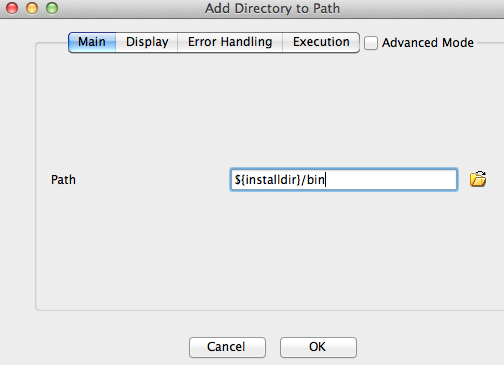
Step 7. a) Choose Environment Actions, and double click on "Add directory to path"
Step 7. b) Enter the following below into the dialogue and press OK.
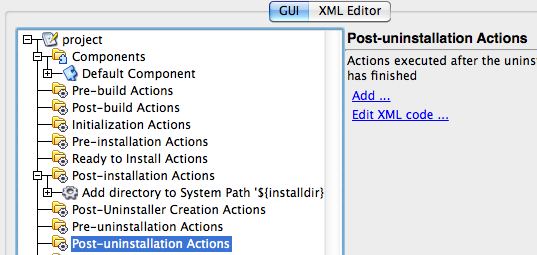
Step 8. Add a postinstall instruction set to remove the directory from the system path.
Step 8. a) Press add on the right hand pane.
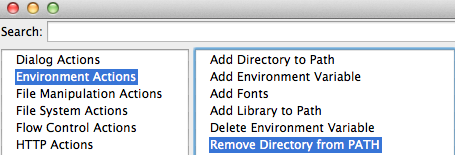
Step 8. b) Choose Environment Actions and double click "Remove Directory from PATH"
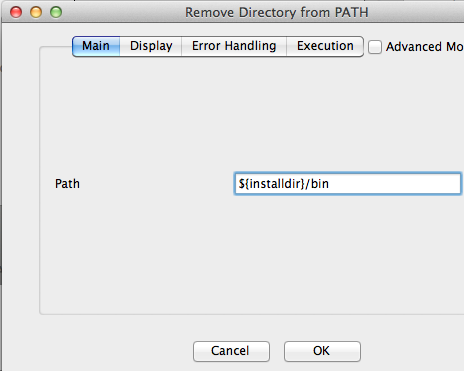
Step 8. c) Enter the following into the dialogue and press OK.
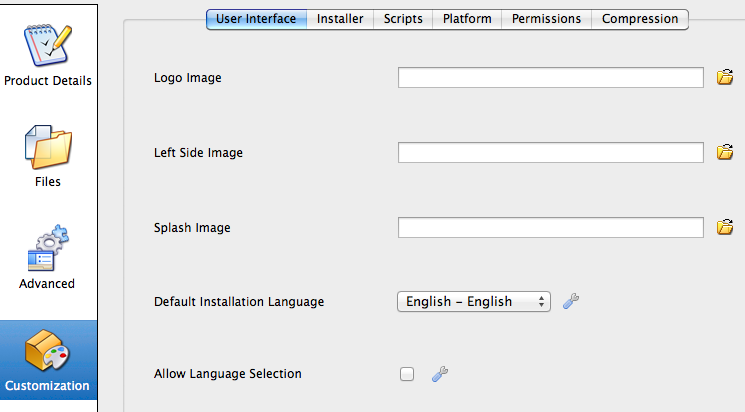
Step 9. Add a custom splash logo.
The Logo is attached as an image, however for the Logo image we still need to get a hold of a proper icon image.
omrs-splash.png
