Atlas Module User Guide
Overview
The OpenMRS Atlas is a web application that lets anyone in the OpenMRS Community place a marker on the world map and share awareness information.
The Atlas Module was created in GSoC 2011 and refactored during GSoC 2014 as a way for implementations to easily automatically update their marker on the OpenMRS Atlas.
For more information about OpenMRS Atlas, see OpenMRS Atlas.
Layout
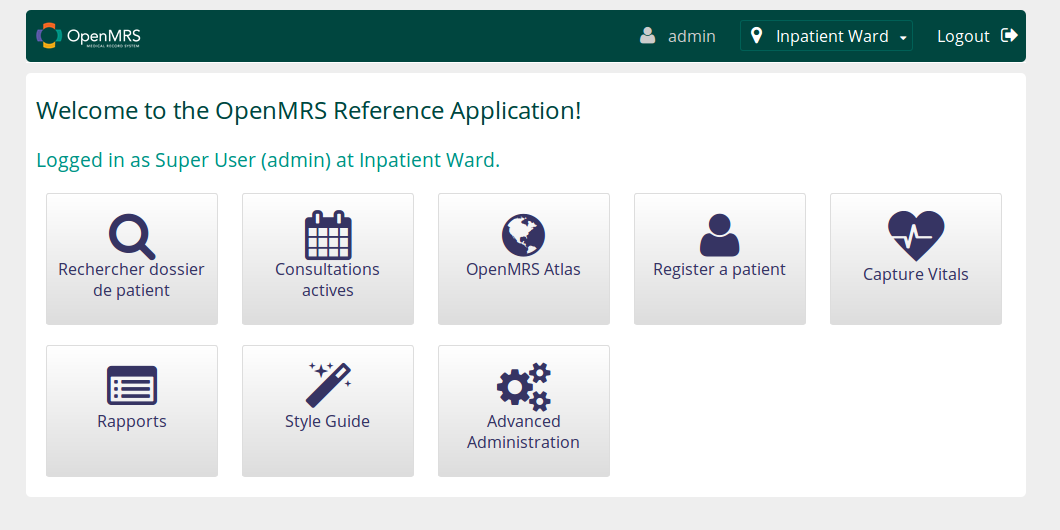
On the OpenMRS 2.0 homepage, the OpenMRS Atlas link provides access to the Atlas Module:
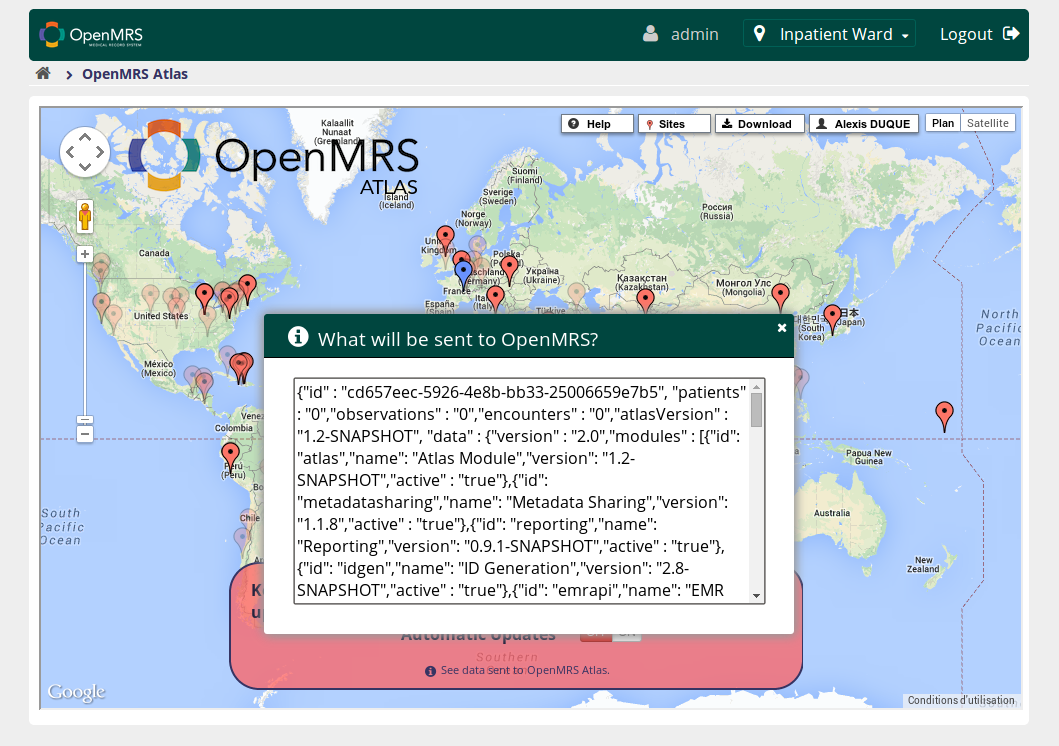
When you open the Atlas Module page, it should look like this:
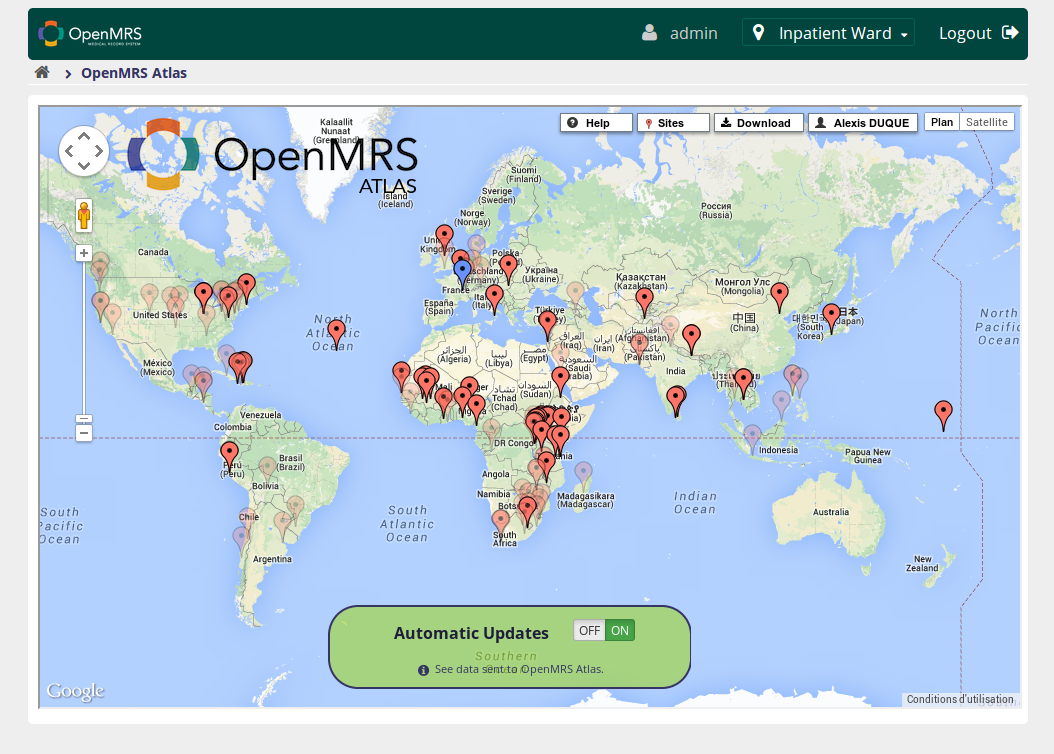
This panel contains:
- On/Off button switch - for enabling/disabling the Atlas Module
- See data sent to OpenMRS Atlas - to show in a modal, data that will be shared with OpenMRS : your server configuration (OpenMRS version, modules enabled, patients, observations and encounters number). Note that any personal data will be sent.
- Top right control bar - to sign-in, sign-out, place your implementation, or get your location as in OpenMRS Atlas
If you don't see an Atlas like this, check the Troubleshooting section below.
Usage
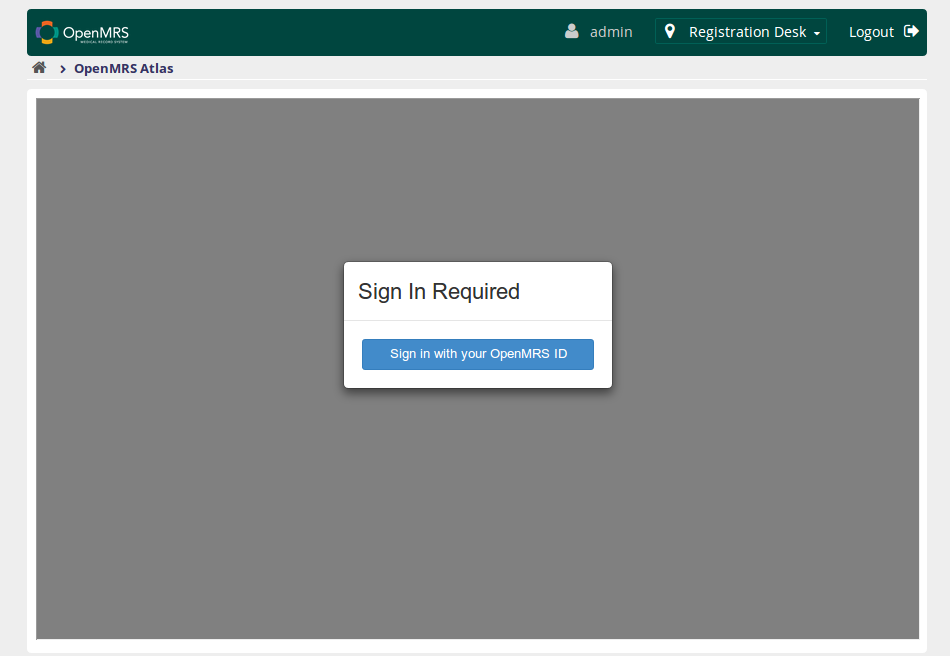
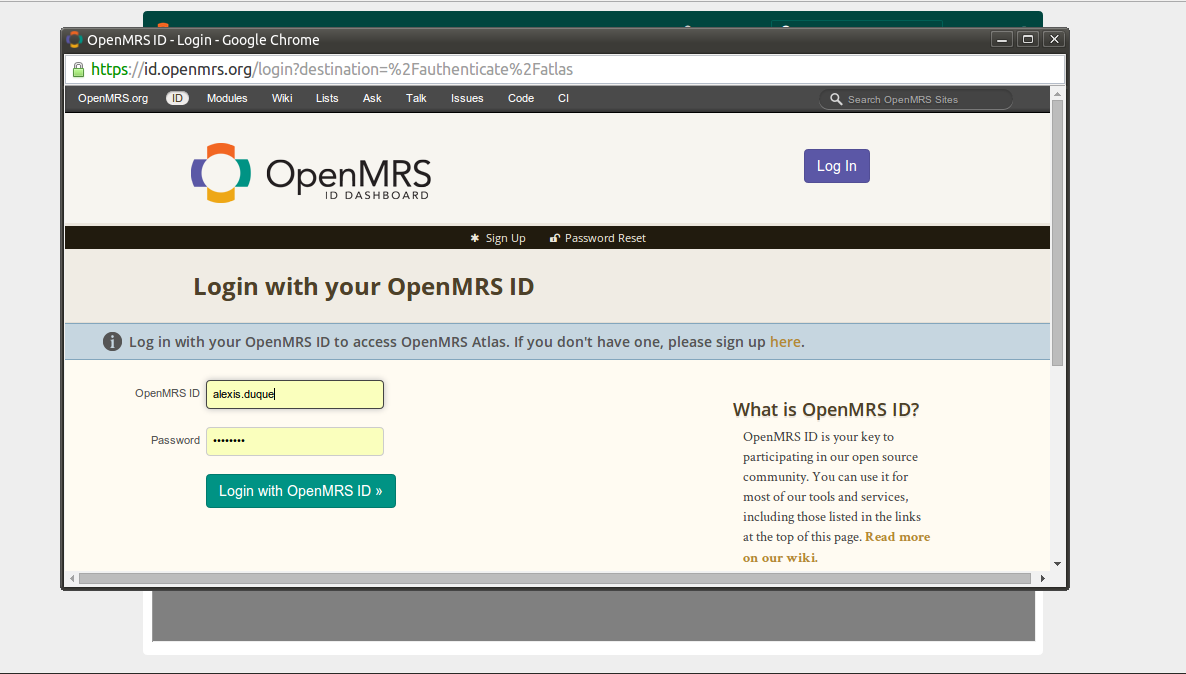
Sign in with your OpenMRS ID
When you first enter the Atlas Module, you have to sign in with your OpenMRS ID.
Create your site
Then, place your implementation on the atlas :
- Click the user menu with your name that appears. Choose “Add New Site”.
- Move the newly-created map marker and place it in the correct location.
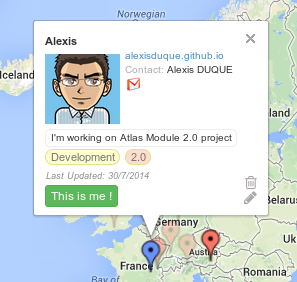
- Click on the marker, then click the pencil icon in the pop-up box to edit your information.
- Click Save when finished.
Or link your server with an existing implementation
Just click the "This is Me" button.
Unlink your server
Any time, you can unlink a site from your server clicking on "This is not me".

Managing the Module
You can enable or disable automatic updates using the ON/OFF switch on the bottom banner.
As OpenMRS takes care of your privacy, you can see data that will be sent to OpenMRS Altlas.
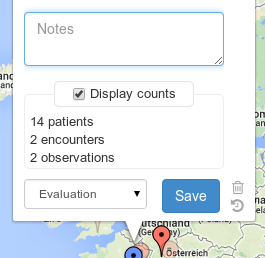
Moreover, you can choose to display publicly or not on the OpenMRS Atlas your implementation stats.
- Click on the marker, then click the pencil icon in the pop-up box to edit your information.
- Uncheck "Display counts".
- Click Save when finished.
How is information sent to OpenMRS ?
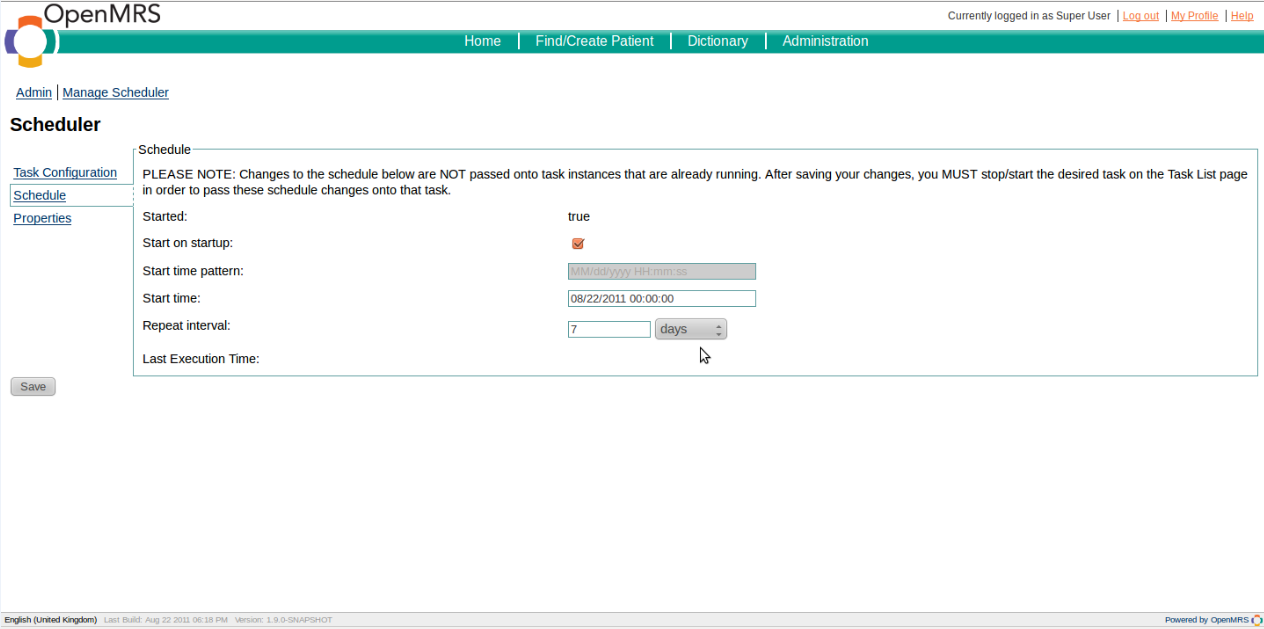
If the Atlas module is enabled, a new scheduled task will be registerd. An administrator can control the frequency of updates by going to the Scheduler section on the administration page, and clicking the Manage Scheduler link. You should see the Post Atlas Data Task:
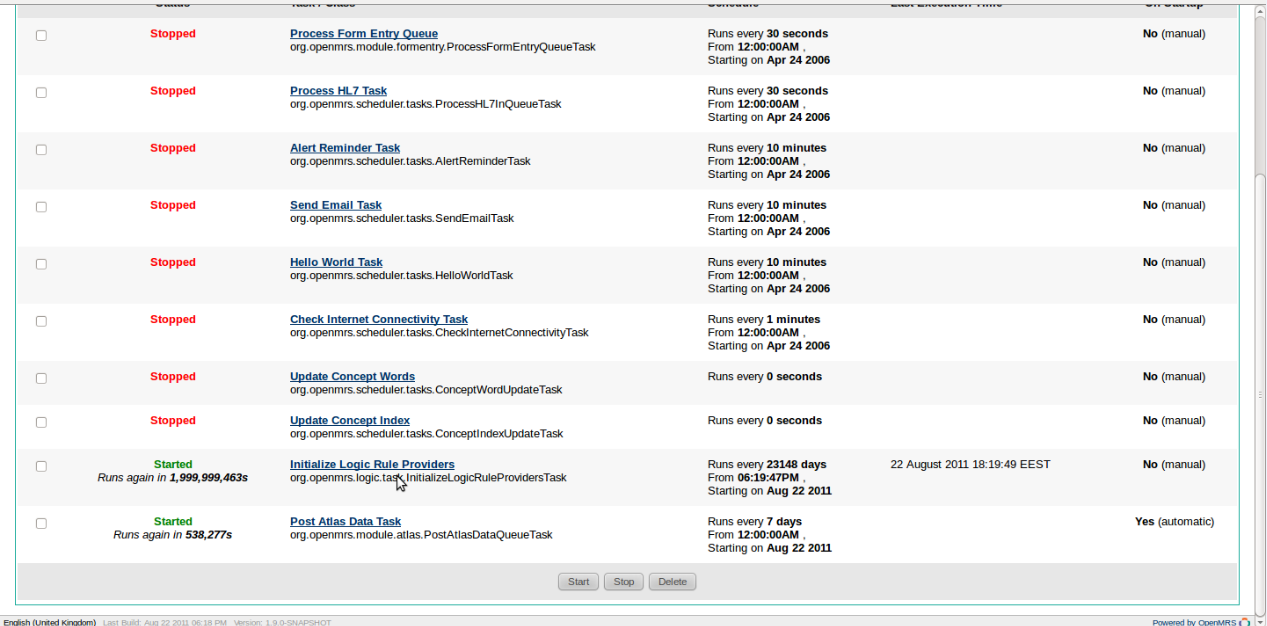
If you click on it, then on the Schedule tab, you can set the frequency of updates:
Troubleshooting
You're not running OpenMRS 2.0+ ?
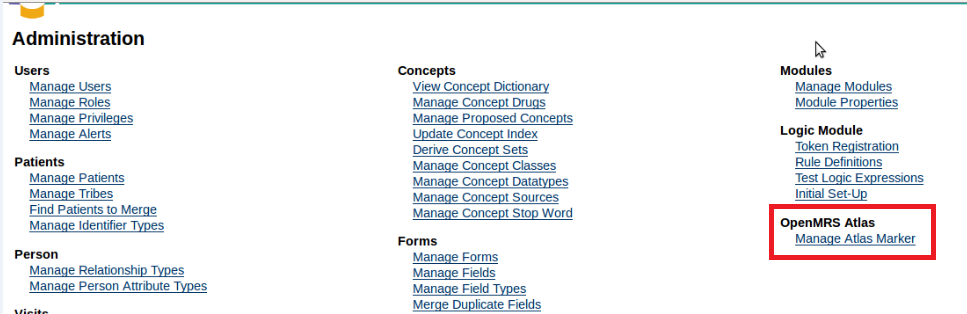
Atlas Module need at least OpenMRS 1.8. If you're running OpenMRS 1.x, go to the Administration Page and click the "Manage Atlas Marker" link :
Your system doesn't have the Atlas Module ?
You need to install it, following these steps :
- First, download latest Atlas module version from modules repository - direct link .
- Go to the Administration Page.
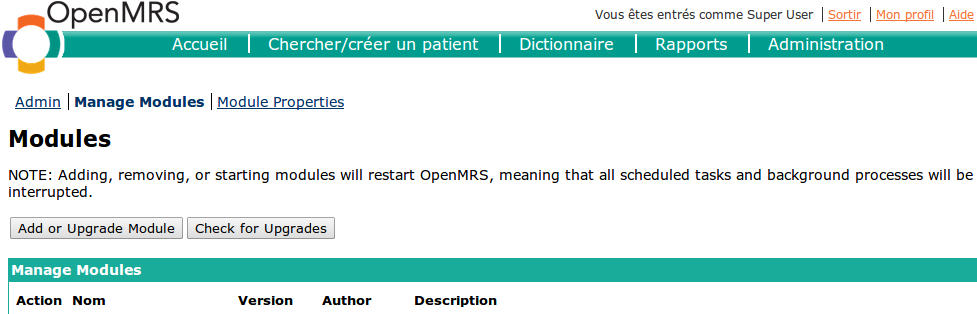
- In the Modules section, click the "Manage Modules" link.
- Click the "Add or Upgrade" button.
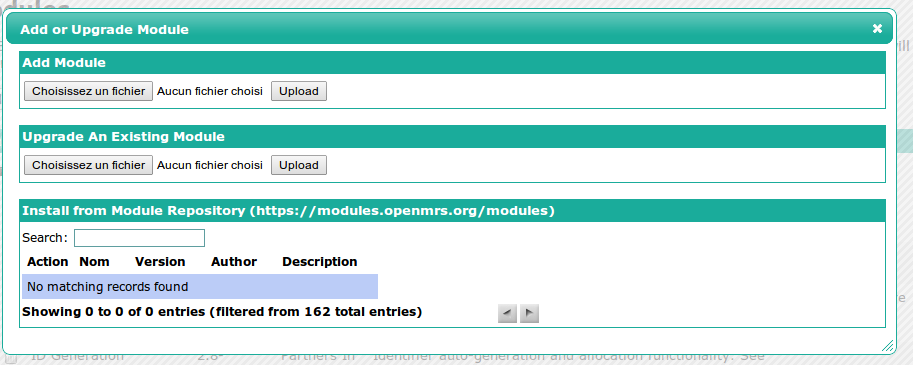
- Click on "Select a file", then pick atlas .omod file, and finally click the "Upload" button.
- Wait a moment during module installation.
You don't see the map ?
You may encounter internet connection issue. In order to use Atlas module, your server should be connected to the Internet.