OpenMRS-iOS User Guide
This is the user guide for OpenMRS-iOS. If you're looking for the development guide, it's over here.
Download

Requirements
- This app is built for iOS 7 and above
- This app cannot work as a standalone solution. You must have a working OpenMRS installation that you can visit through your web browser to use this app.
Demo Video
Logging in
After building or downloading the app, you will see a login screen:
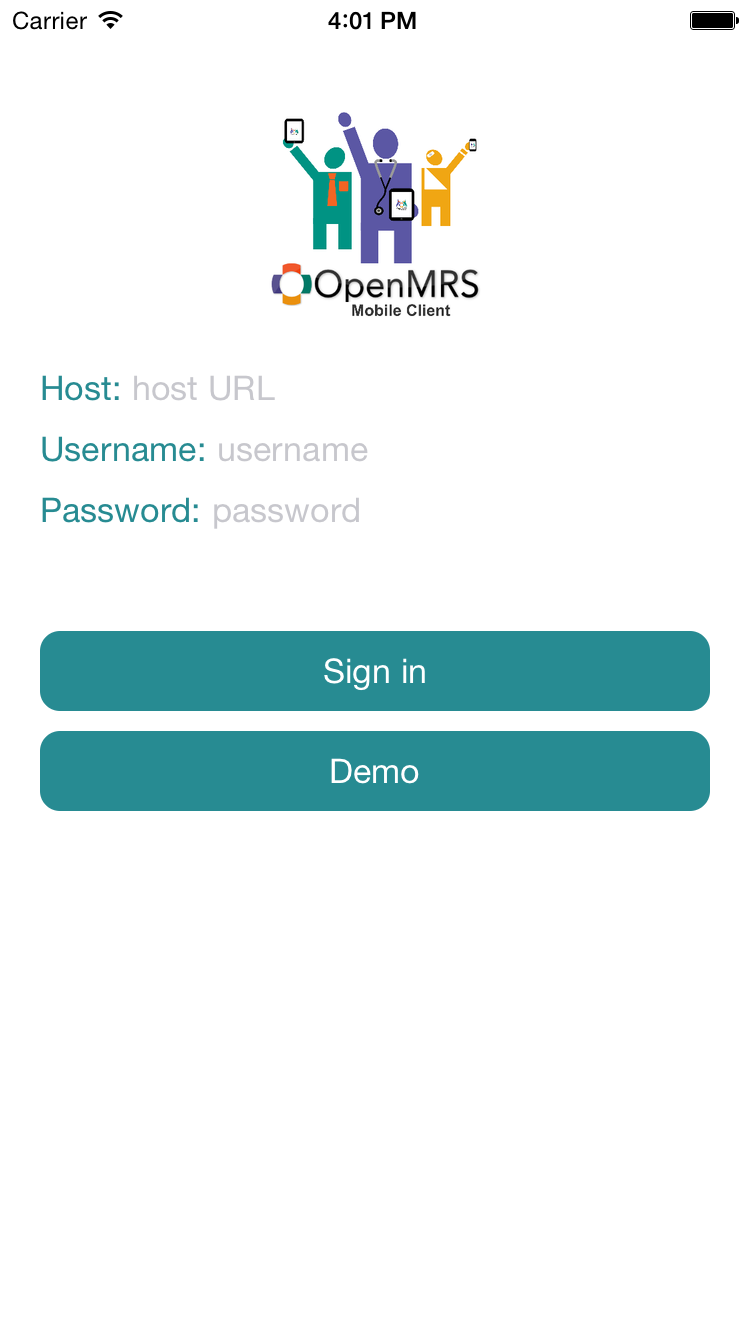
Host: The URL of your OpenMRS installation. Note that the app requires the URL that you would visit in a web browser to log in; demo.openmrs.org/openmrs will work, but demo.openmrs.org will not.
Username: The username that you use to login to OpenMRS
Password: The password that you use to login to OpenMRS
Sign in: To sign in with the info you just entered
Demo: To sign in with the login info below
Demo Login info:
- Host:
demo.openmrs.org/openmrs - Username: admin
- Password: Admin123
Main Menu
After successfully logging in, you will see a main menu:
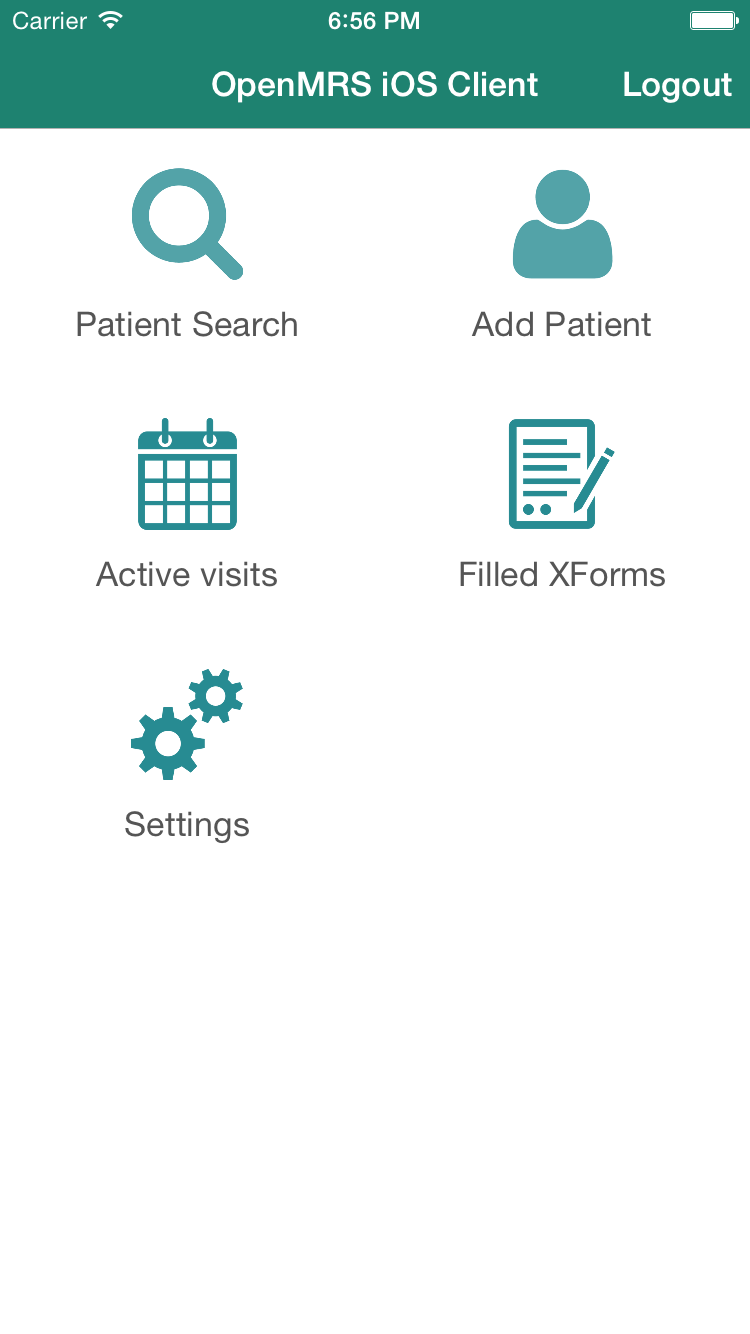
Patient Search: This opens a window where you can search for existing patients.
Add Patient: This opens a window allowing you to add a new patient to OpenMRS.
Settings: This opens a window where you can logout of OpenMRS on your device. Logging out also destroys any saved patients on your device.
Active visits: This opens a window where you can see currently active visits available from the server.
Filled XForms: This opens a window with XForms that were filled and saved offline.
Log out: This will log you out after showing you a warning that you the offline saved data will be removed
Settings:
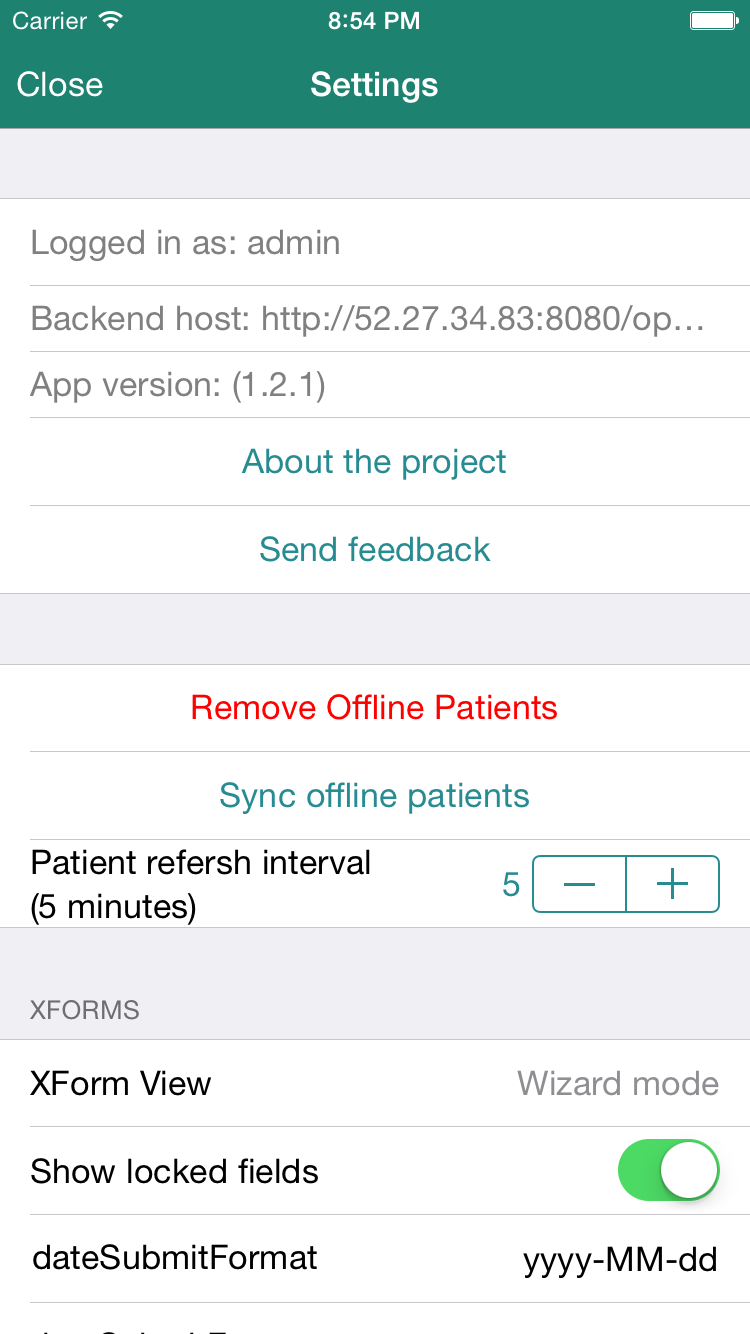
- First section:
- Logged in: username logged
- Backend host: server URL
- App version: App version you are on
- About the project: Open the project webpage
- Send feedback: It will show you a view where you can enter text to send feedback to us!
- Second section:
- Remove offline patients: Remove all offline patients
- Sync offline patients: Synced offline saved edits to server.
- Patient refresh interval: Set number of minutes for timer to refresh patient data when you are looking at it, to disable set to 0
- Third section:
- XForm view: Click to select from 2 views for the forms Wizard mode or Single form, screenshots below.
- Show locked fields: Turn off if you want to hide all locked fields
- date/time/dateTime formats: If you are having problems submitting xforms make sure they match the one on the server from the settings
Active visits:
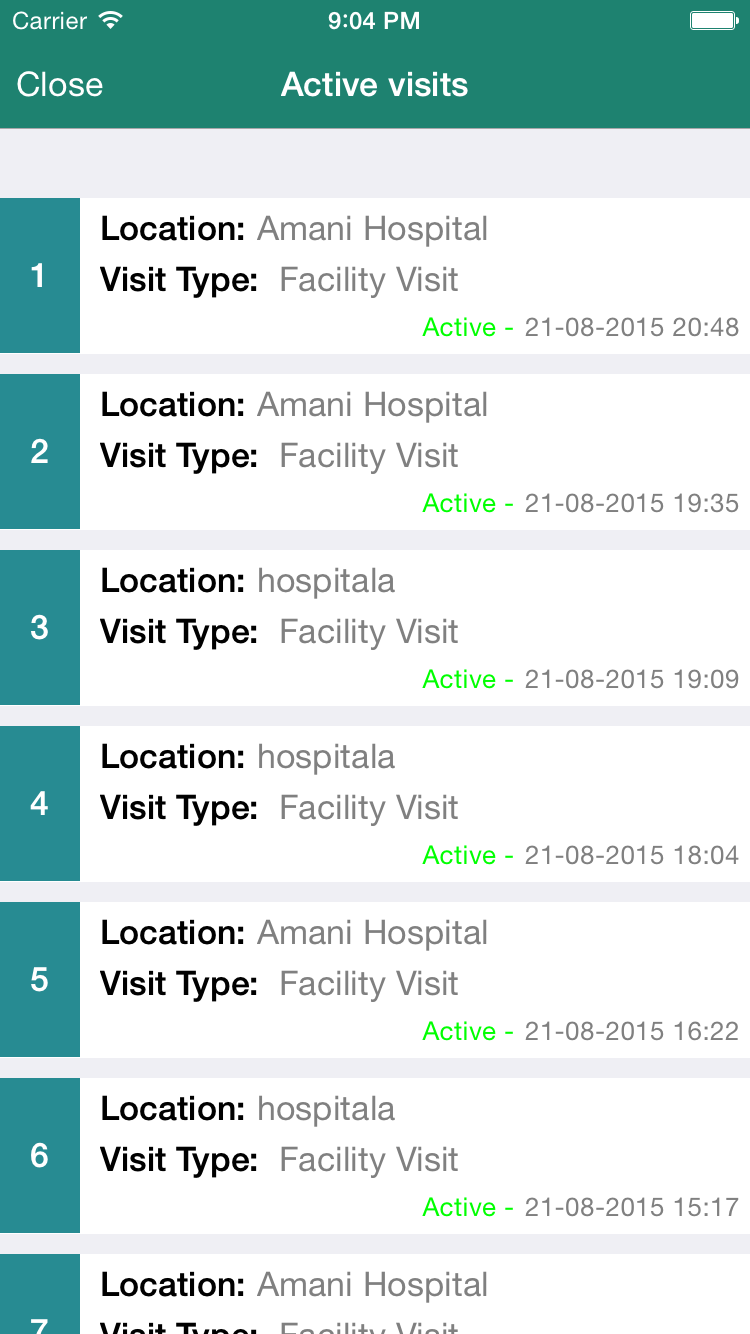
Shows a list of all active visits, with it's types, location and dates!
Filled XForms:
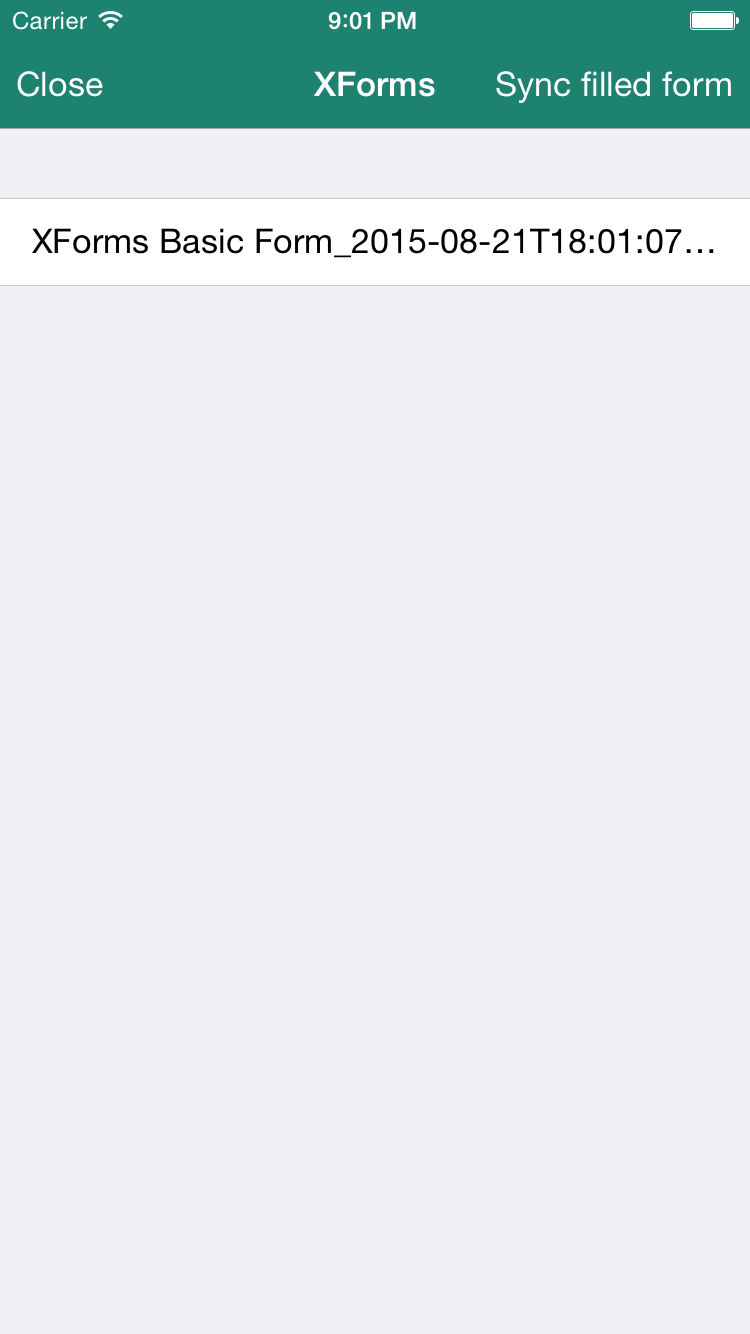
Shows a list of forms saved filled and saved offline you can review them by tabbing on them, or delete them by swiping,
or send them individually after reviewing by submitting them like normal forms
or send them all from that button at the top: Sync filled form
Adding a patient
By tapping the add patient button on the main menu, you can add a patient to the OpenMRS database:
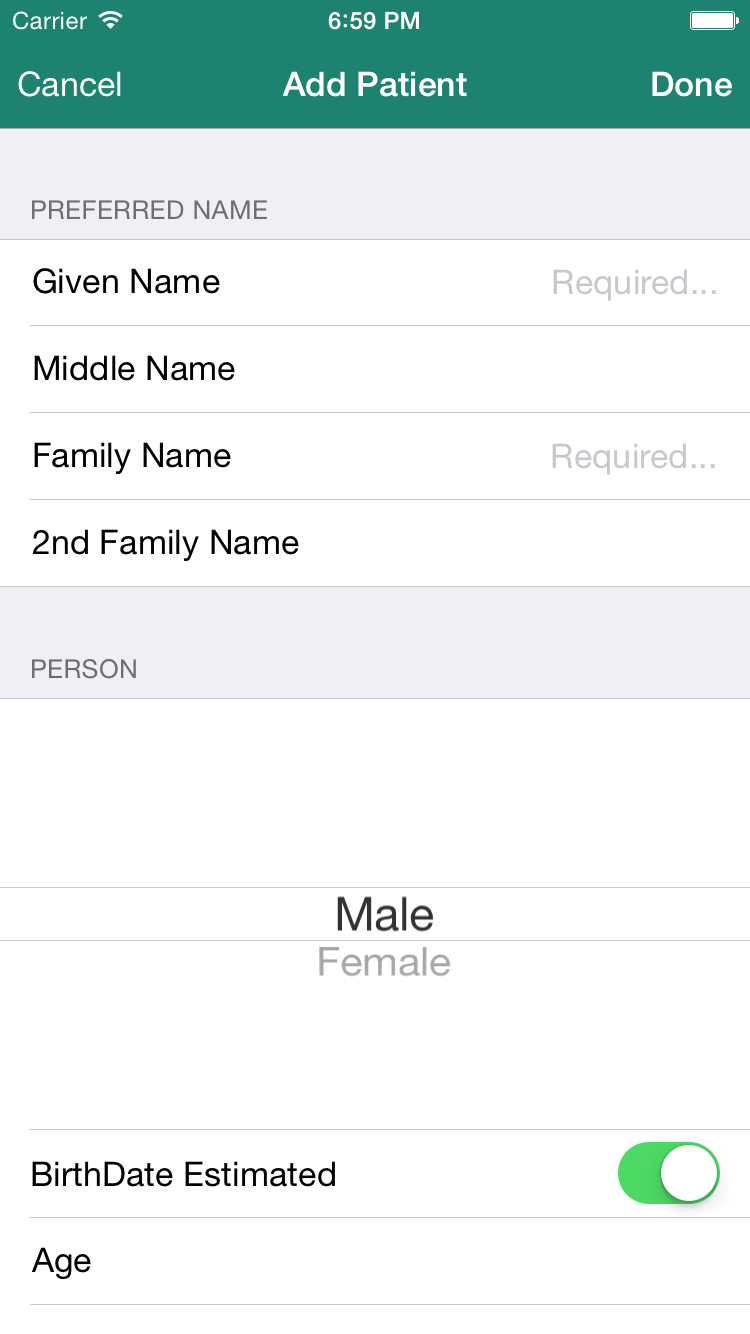
Note that when specifying an identifier, you must manually enter the identifier. The app currently does not support automatically generated identifiers.
and make sure you are entering appropriate values in fields
Patient Search
Clicking Patient Search in the main menu will bring you to a table view with a search box. Type your search into the box, and the list will update in real-time with matches:
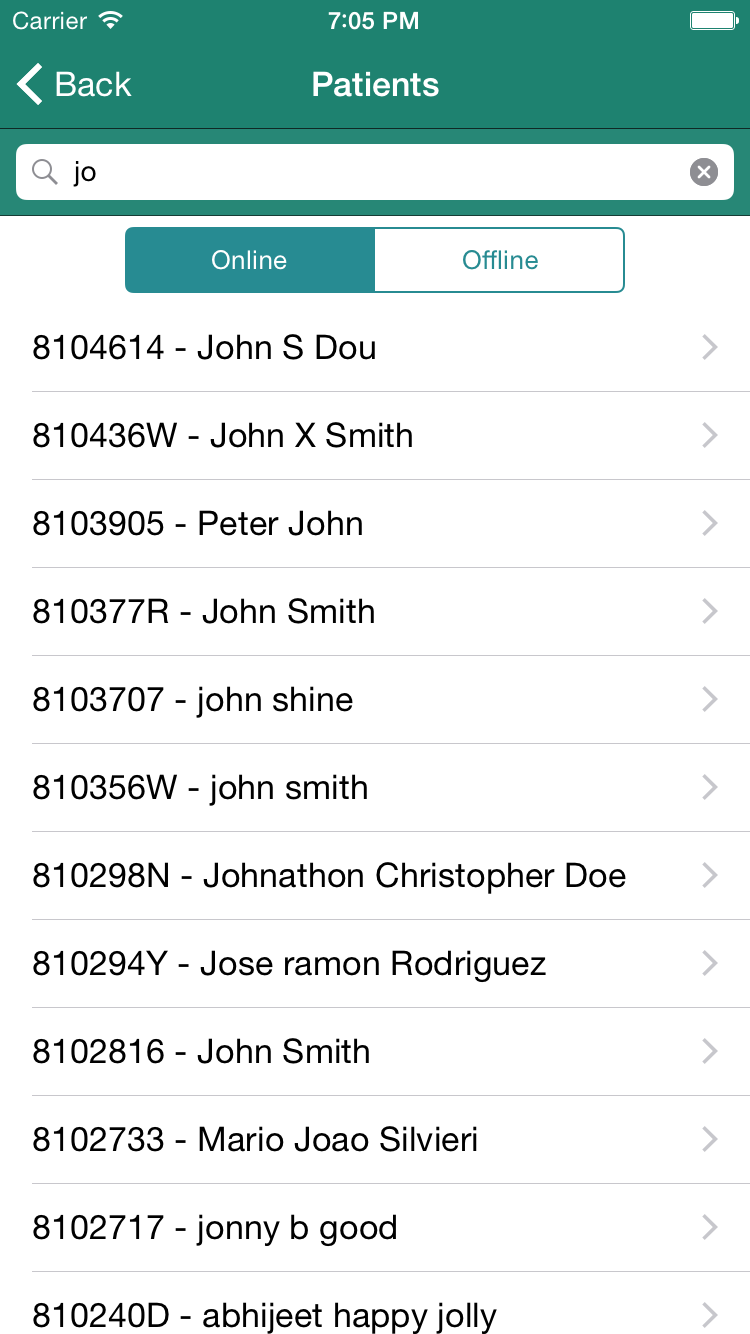
Patients appear in an Identifier - Patient Name format. Tapping on one of the results will open a view with more information about the patient selected.
If you have saved patients for offline use, they will appear in the list even if you are not connected to the Internet.
Viewing a patient
When you select a patient, you will see a screen with information about the patient:
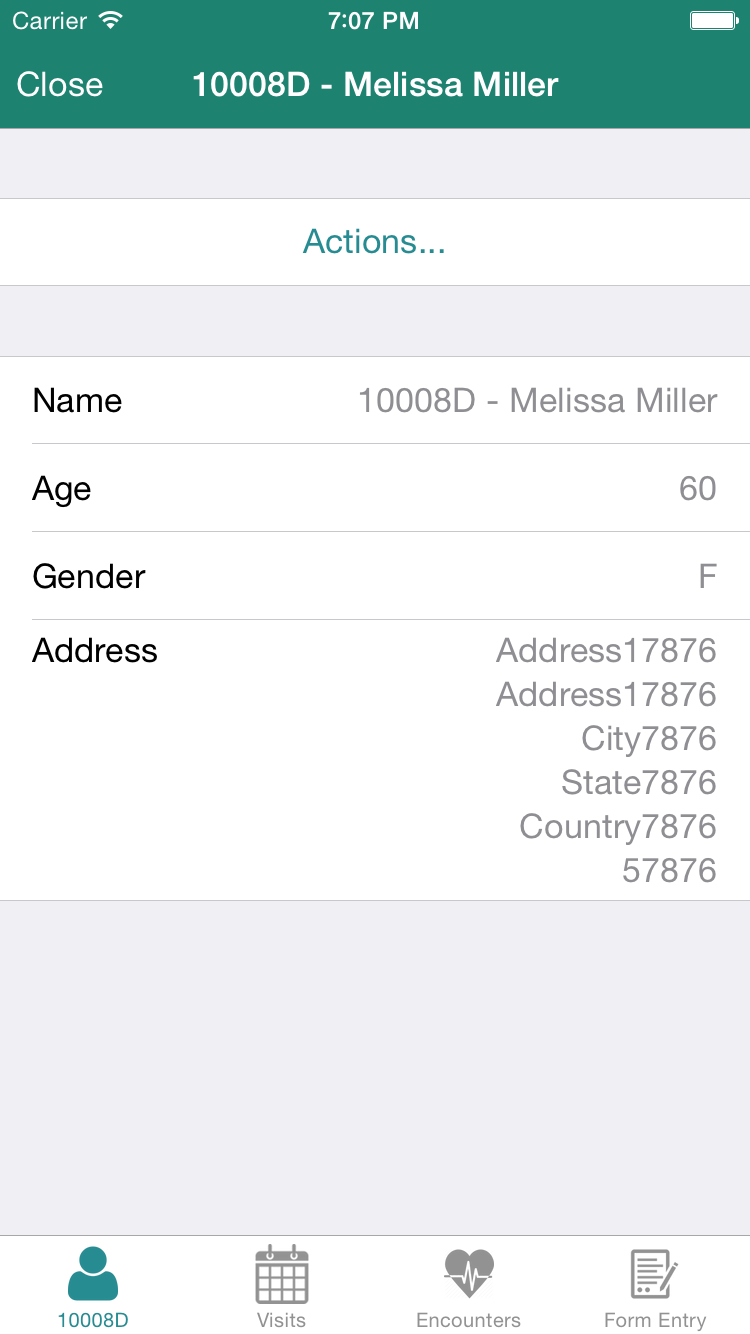
Tapping the Actions... button will expand to show actions that can be taken on the patient:
- Add Visit Note: This button will show a view where you can add a visit note to the current patient's record.
- Capture Vitals: This button will show a view where you can record a patient's vitals into the OpenMRS system.
- Save for Offline Use: This button will sync all information about a patient to an encrypted database on your local device. When you aren't connected to the Internet, you will still be able to view information about the patient. If the patient is already saved, this button will update the patient with the most recent data from OpenMRS.
- Update offline record: If record already saved, to update it from server, or sync it's offline edits with server if not synced
- Remove offline record: If record already saved, you can remove it.
- Start Visit/End visit: This button will show a view to start a visit or warn you if u want to stop current active visits.
- Edit Patient: This button shows a view where you can edit current patient data
Adding Visit Notes:
Tapping the add visit note... button on a patient view will show a page where you can type in a note:
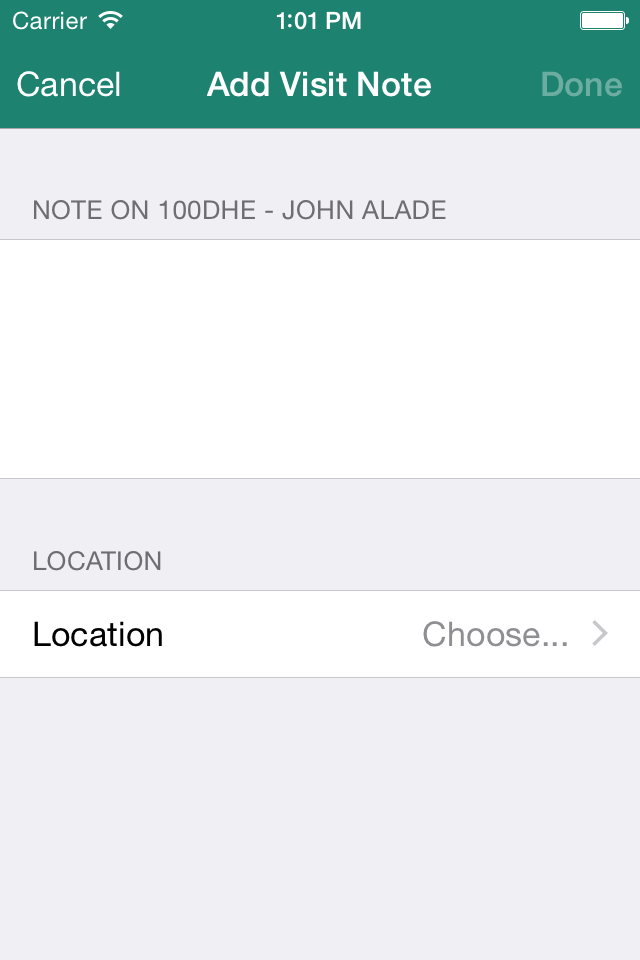
Note that you must choose a location before submitting the note.
Capturing patient vitals
Tapping the capture vitals button on a patient view will show a screen where you can record a patient's vitals:
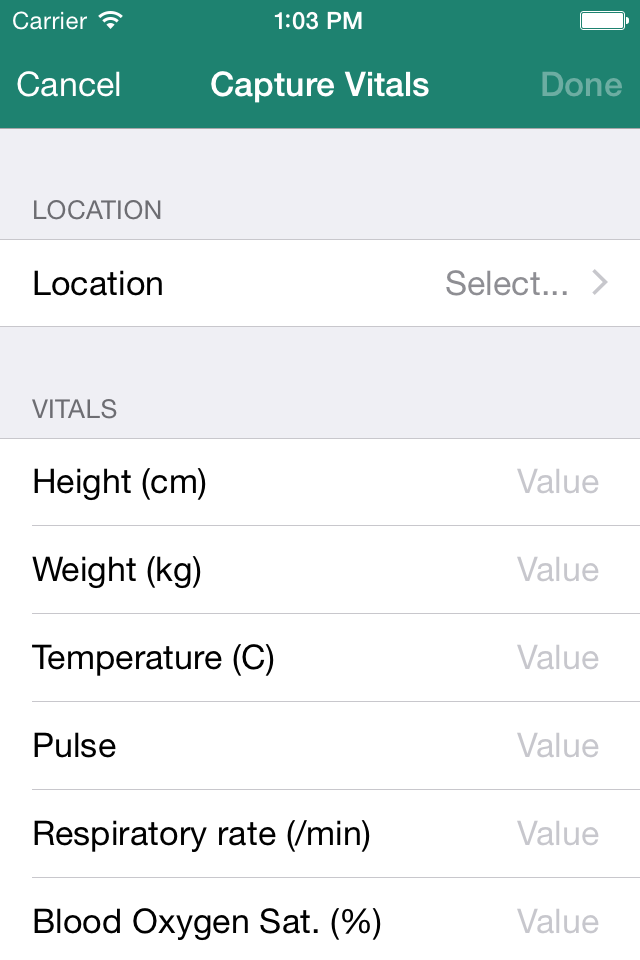
Note that you must choose a location before submitting the vitals. Also, you do not need to include units of measure when entering the values.
Edit patient
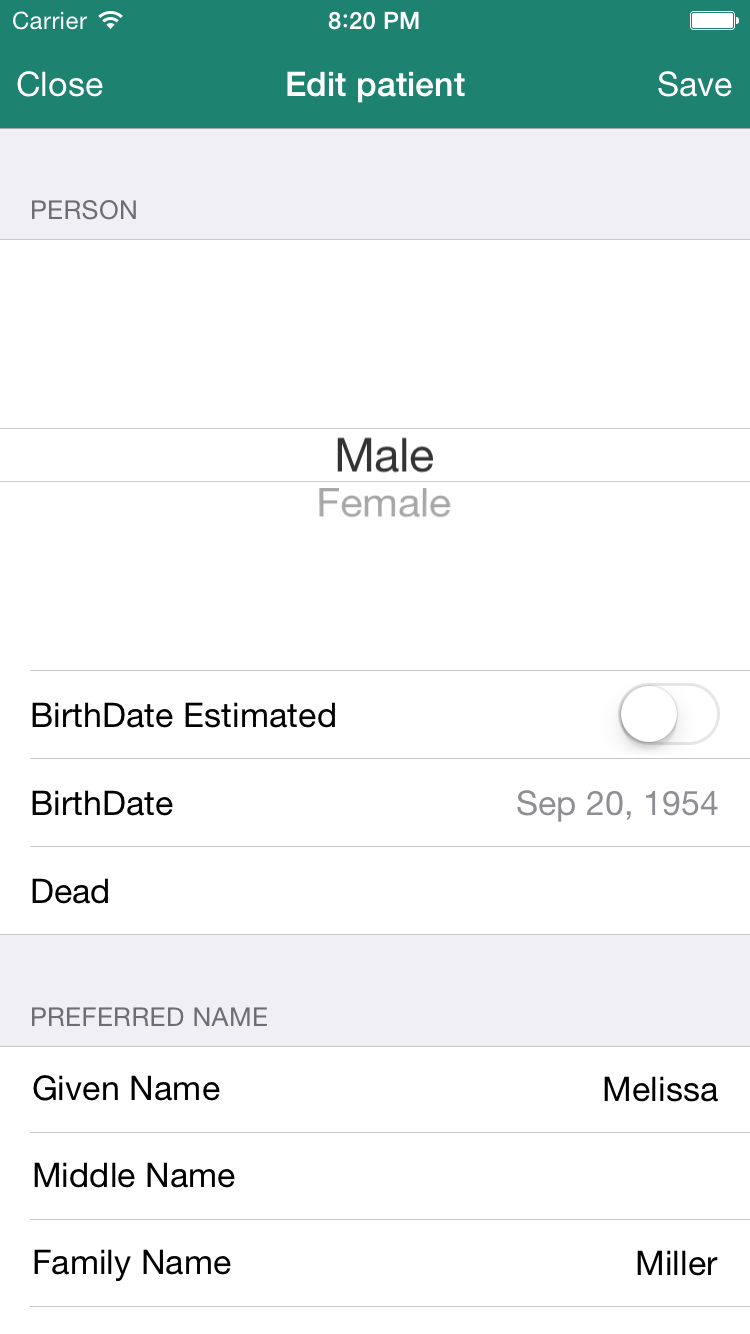
Shows a form that has the patient data filled already, and you just edit the stuff you want and press save
If you are not connected to the internet it will be saved offline to be synced later
Visits:
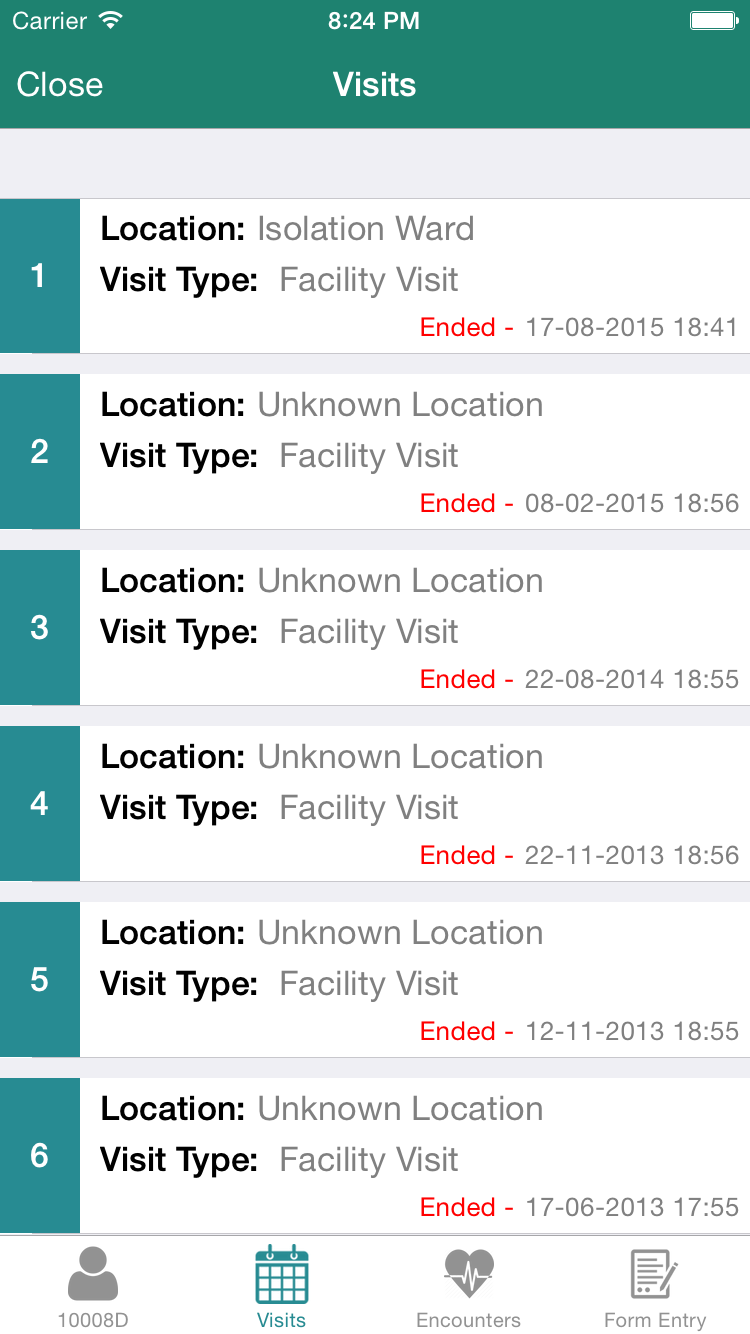
This view displays the visits for this patient and showing the following info:
- Visit type
- Location
- Status
- DateTime
Encounters:

Showing the encounters for that patient and when you open it, you get a list of obs, OR If your server has version 4.3.6 of the XForms module
and that encounter is filled with an XForm, it will show a copy of that filled xform.
Form Entry:
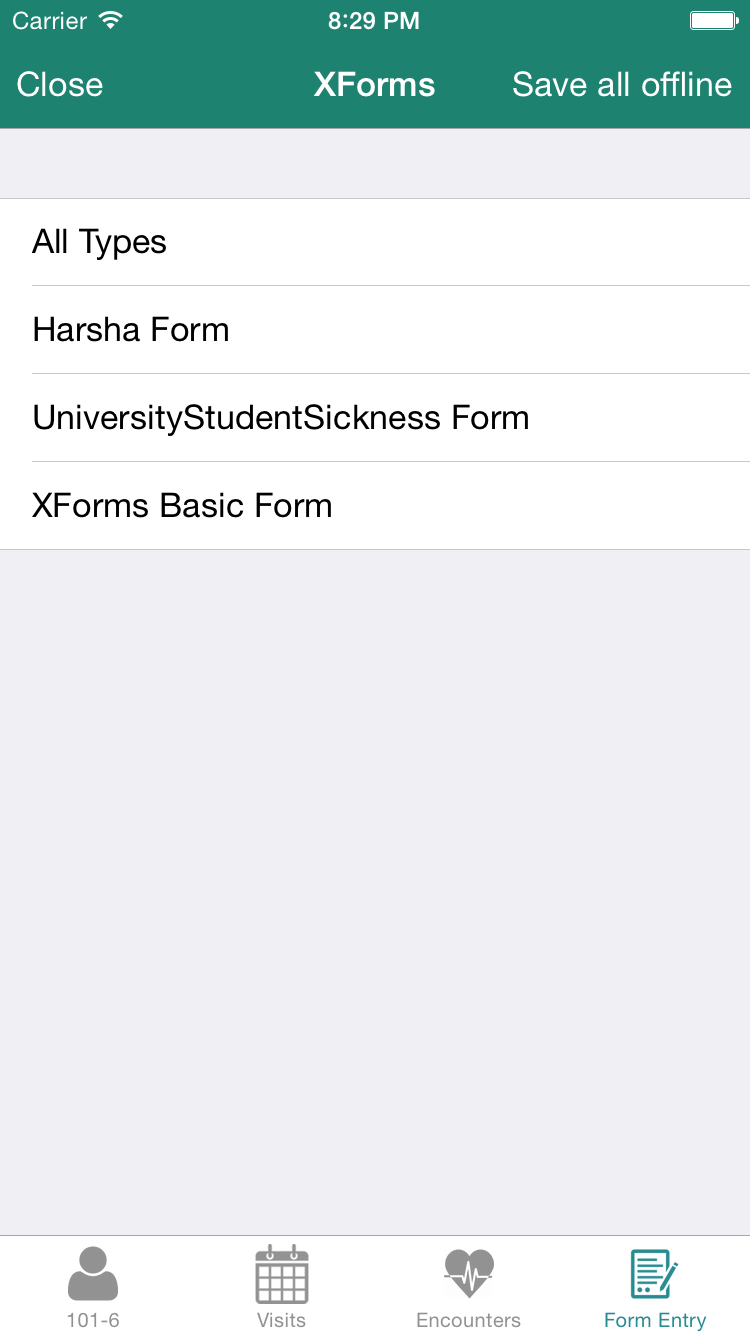
Shows available xforms on the server, and you can select any of them to start filling it for that patient.
Form Views
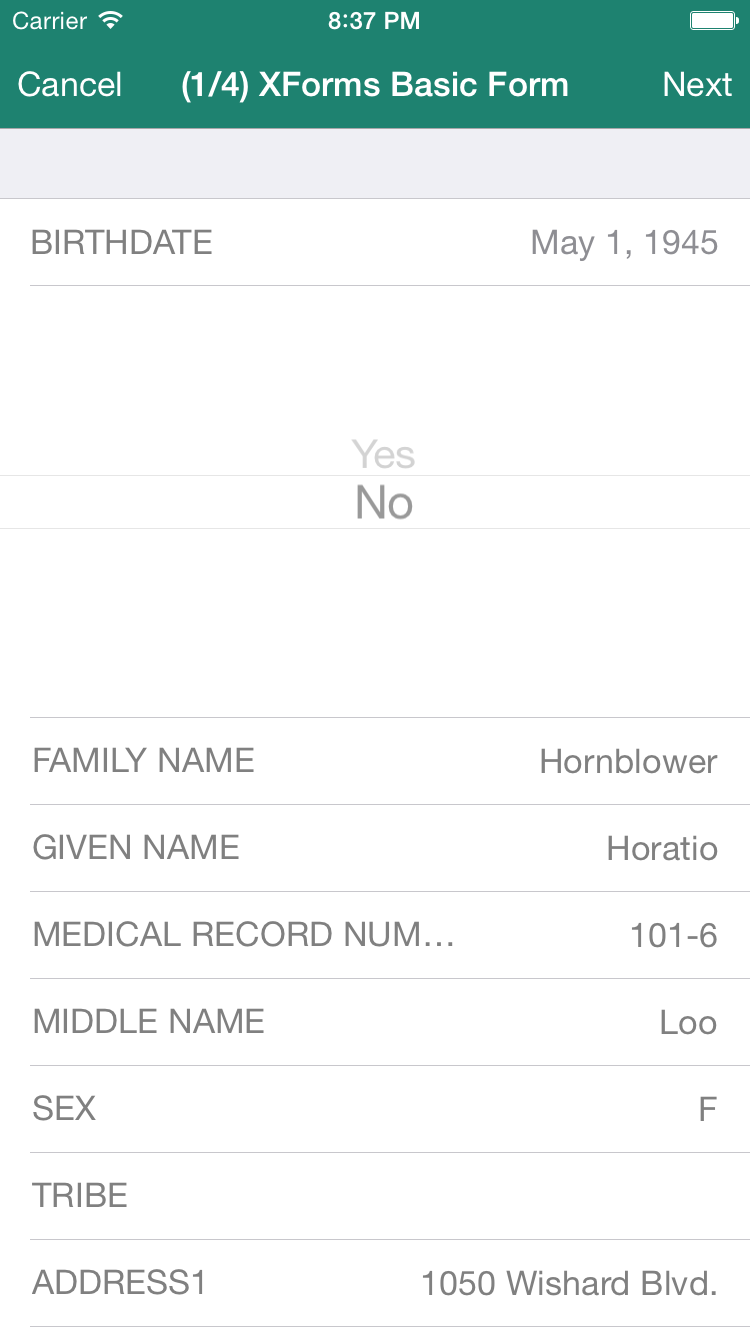
You basically get 2 ways to view the xform that you can select from the settings
Single form:
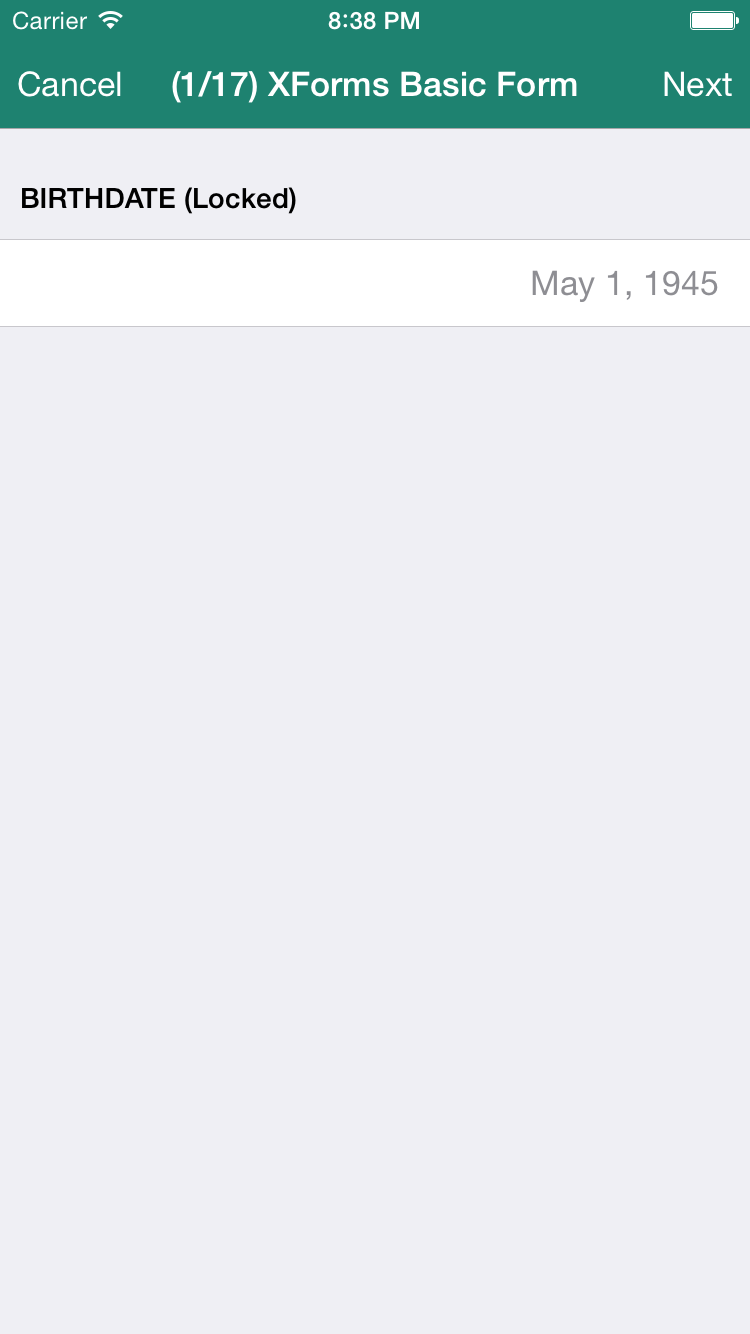
Wizard mode:
*Navigation by swiping left and right
Demo filling an XForm on the iOS client: